After a few weeks of using the iCandy peach, it became apparent that it just wasn't the pushchair for me and I needed a more suitable model. It's funny that you only really know what it is you need to look out for in a buggy once you've used one for a while. The Bugaboo Bee ticked all of the boxes and so after a short push around the shop floor the order was placed and my new little family firmly joined the "Bugaboo Brigade" that we often jumped out of the way of during their pavement pounding sessions in East Dulwich.
Wednesday, 30 April 2014
Lena Loves - Bugaboo Bee Plus
After a few weeks of using the iCandy peach, it became apparent that it just wasn't the pushchair for me and I needed a more suitable model. It's funny that you only really know what it is you need to look out for in a buggy once you've used one for a while. The Bugaboo Bee ticked all of the boxes and so after a short push around the shop floor the order was placed and my new little family firmly joined the "Bugaboo Brigade" that we often jumped out of the way of during their pavement pounding sessions in East Dulwich.
Tuesday, 29 April 2014
Lena Loves: Weaning Essentials
1. MAM weaning spoons to start as these are great for mini mouths, then Vital soft tipped spoons as these are gentle on teething gums.
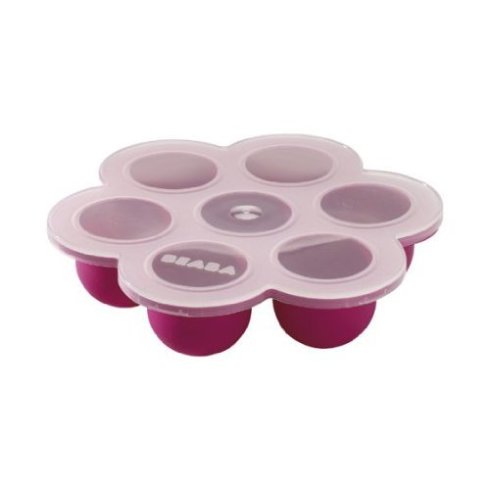
2. Beaba freezing trays - Lena soon grew out of the ice cube phase and went straight for large portions
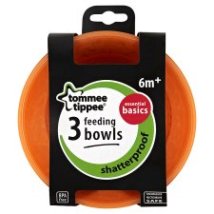
3. Tommee Tippee bowls
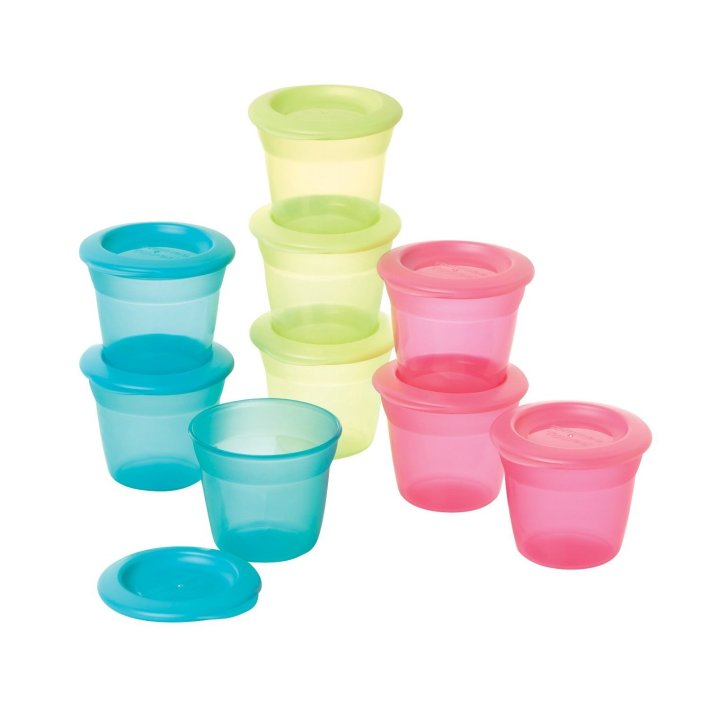
4. Tommee Tippee storage pots - great for her lunches or popping in the freezer.
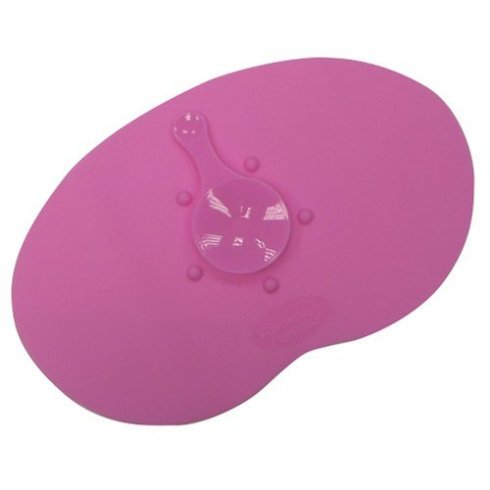
5. Tommee Tippee mat - the only thing that will keep a high chair toy attached to the tray!
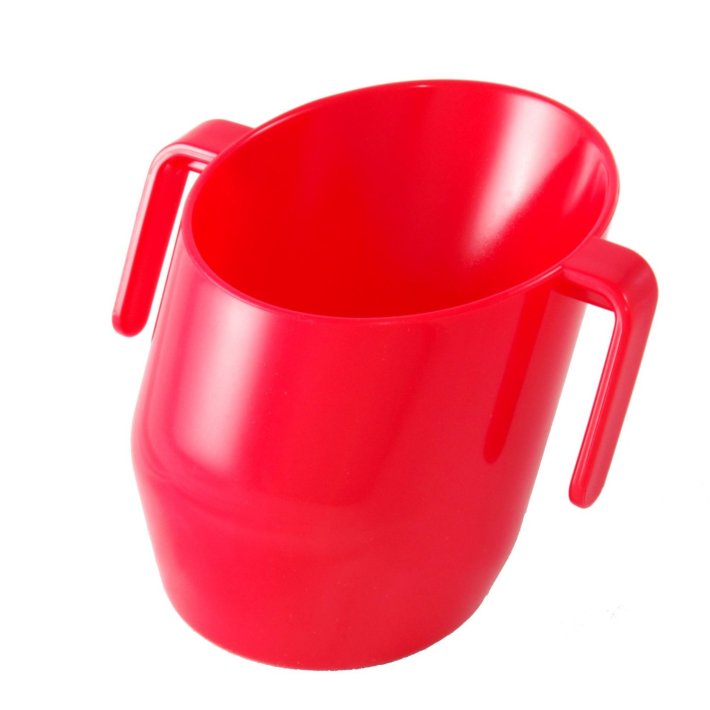
6. Doidy cup for mealtimes - oddly Lena prefers her Doidy to a sippy cup. I think it's the joy of being able to blow bubbles that gets her excited when she sees it coming.
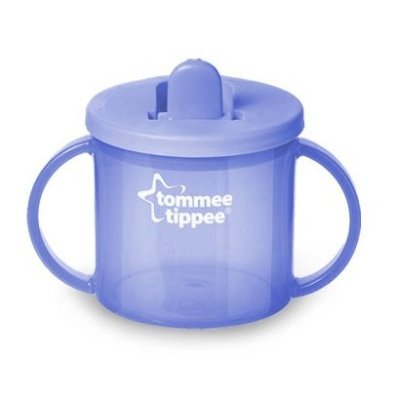
7. Tommee Tippee sippy cup for out and about and various points during the day
8. Ready made food pouches for when you're on the go - Lena seems to hate the Hipp jars but loved Ella's kitchen.
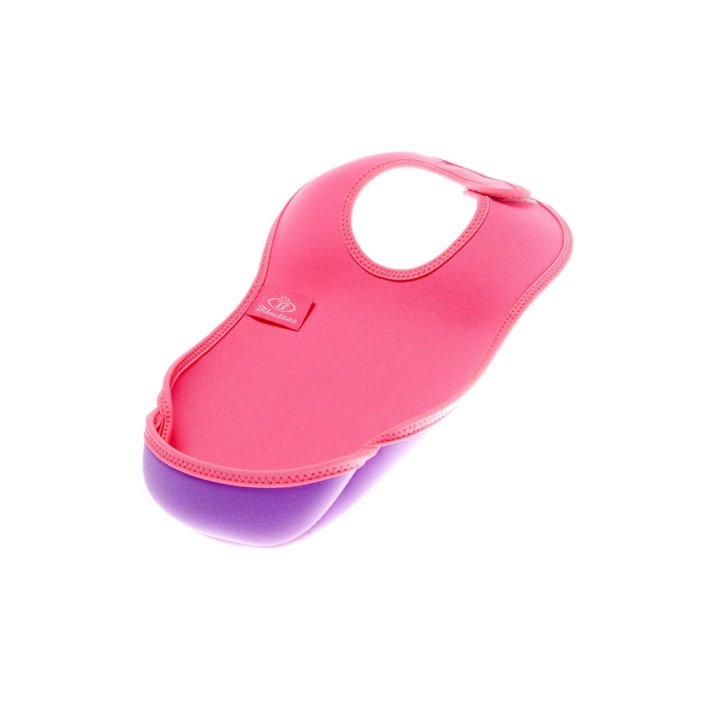
9. Bibetta neoprene bib - great for when you're teaching her to sip from an open cup like a Doidy.
Monday, 28 April 2014
Lena Loves: That's not my..... books
They all follow the same format which is that you're trying to find your lamb/puppy/lion/dolly. Before the final page where you do actually find your car/penguin/tractor you find ones which aren't. Either because their paws are too fluffy or teeth are too shiny etc. There is also a little mouse on each page hunting with you which is a detail we found came into its own when Lena hit 13 months and was so pleased to find things that you were pointing out. Even awarding herself little rounds of applause after each correct find.
Sunday, 27 April 2014
Lena Loves: Fisher Price Little People Aeroplane
In the battle between Little People vs. Happyland we are building a larger collection of the latter. There's something about buying Early Learning Centre products that reminds me of my own childhood. Mainly because my mum still has the 1980's version of the shoe-boot school that I spent hours playing with.
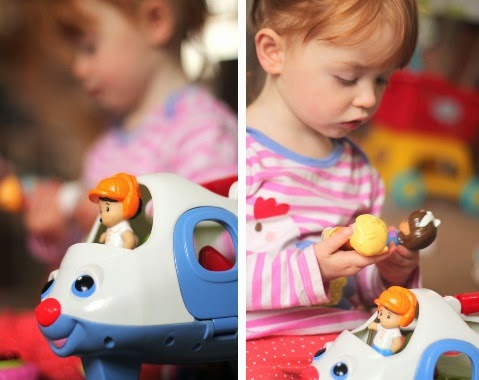
The one Little People toy we do have, however, is a total hit. Lena was lucky enough to receive it for her first birthday and it couldn't have come at a better time. Shortly after this she became obsessed with aeroplanes and helicopters and really got into 'imaginative play.' We have a box full of extra figures that we found in the local charity shop so she has even more passengers to play with, including a ginger tom cat who always seems to be jet setting around the globe.
It has a useful handle at the top which means Lena can whizz around the living room holding it by this, pretending to make it fly. And when it is moved across the carpet the Little People wobble from side to side which is a sweet feature. At £28.99 it's not the cheapest of toys but sits in line with the price of Happyland. No doubt if weren't gifted it in August we would have bought it ourselves by now.
Saturday, 26 April 2014
Day Out: London Zoo
The time came and Dom took a day off work to do his usual commute, but this time with a 19 month old bundle of excited energy. The train ride was amazing. Lena absolutely adored it; the noises, the people, the feel of the moving train under her feet. We packed a few extra story books about trains in her rucksack as well as a zoo sticker book; she was happily entertained by these or the scenery for the entire 1 hour journey into Victoria.
The giraffe and penguins were top hits. The small monkey enclosure is fabulous, but as it's open this did freak her out a little. A small bearded critter jumped at my face whilst I was holding her and landed on a branch next to my ear. My blood curdling scream may not have helped to alleviate her concerns.
Friday, 25 April 2014
Lena Loves: The toy box
When I watch her grab toys out of it I can't help but imagine her using it as a blanket box at University, or even as a toy box for her own children.
It is made from solid oak with beautiful hand carved lettering on the front outer and a message on the inside of the lid. With 'Hold Anywhere Hinges' I feel safe when Lena has almost her whole body leaning inside on the hunt for the play thing of the moment.
Pop over to makemesomethingspecial.co.uk to take a look at some photos and other products.
Get Crafty: Twinkle Twinkle Little Star
Lena is absolutely obsessed with stars. If she takes a late afternoon nap we are often lucky enough to keep her awake so that we can go and pick up Daddy from the train station. Before the clocks moved forward it was dark enough when we arrived back home for her to see the stars. She would point wildly at the speckled sky as her Daddy tried to recall the constellations he had learnt as a child. It doesn't matter how crazy the day might have been, to watch this made me want to wrap them both up in cotton wool, it was so cute.
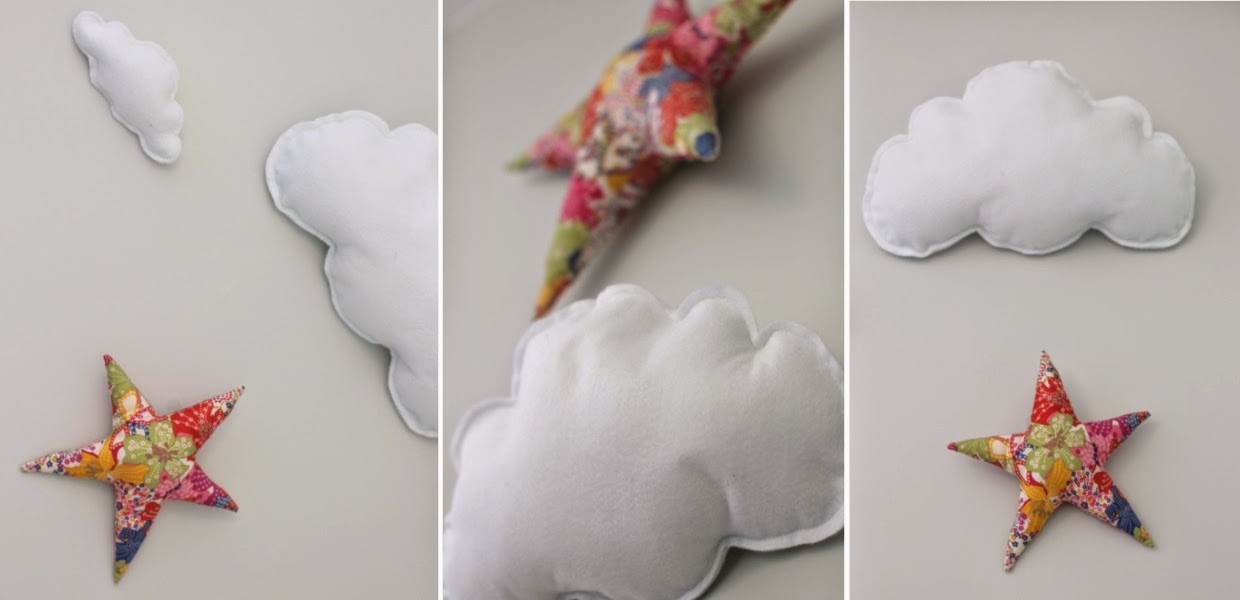
With summer slowly announcing its arrival Lena doesn't get to see the stars anymore. So we have some glow in the dark ones stuck to her ceiling and then some rather fine looking fabric ones hanging on her wall.
Unfortunately I didn't photograph as I went so I don't have a tutorial for you. It's pretty easy. All I would say is that If, like me, you have completely forgotten how to draw a neat star shape go to this web page, making sure to include a seam allowance on your pattern.
Lena Loves: Tomy Play to Learn Hide 'n' Squeak Eggs
This little plastic egg box is the number one best selling toy on Amazon in the Learning and Activity department. It has also been Lena's favourite since the word go. We were first given it when she was about 3 months old. I looked at it quite quizzically at first, I didn't quite appreciate its potential worth.
I remember discussing it with my NCT friends over another caffeine fix and they replied 'oh yeah, that egg thingy. We were given that too. She/he loves it.' It seems we had all been given a magical toy by the fairy godmothers of 'already been there, done that, know the eggs are gold.' And who were we to argue with mums already in the know.
All it consists of is a little plastic egg box with colourful eggs that sit inside. The eggs all have different shapes on their underside so they slot into a specific place in the box, so it's great for shape sorting, something which the jagged shell tops also tick. The different colours are a discussion point and I swear this is why Lena knows how to say the colour 'purple.' There are also different emotions painted on the faces of both the inside egg and the shell which match each other in expression and colour. Plus the eggs squeak when pushed; this was the first thing that amused Lena. It is a wonderful little toy that has grown with her over the past few months and is still loved today at 19 months old. At £5.97 it's also a bargain. My only niggle is the that hinge of the lid is utterly useless and snapped within a couple of plays so we had to get all Blue Peter on it, coating the join in layers of 'sticky-back-plastic.'
Thursday, 24 April 2014
Lena Loves: The Five Year Diary
Watching little Lena grow and develop so quickly has made me want to record every little thing she does. It started when she was first born. I was given my mother's baby diary that she used for me. It is classic 1980's Mothercare with each day split into hours so you could track feeds, appointments and as my mother did PUs (pass urine) and BO (bowels opened.)
I was granted the privilege to continue tracking in that same book all of Lena's soiled nappies. I found it a real comfort, not only to track her feeds and nap times, but to also look back on my mum's notes and see how I varied to Lena at the same age. It was not only an informative comparison, but also a joy to read how my mum shared the same excitement as I did when Lena did anything for the first time, especially the first poo.
As Lena became more confident in feeding and settled into her routine I stopped writing in it. I still kept little notes of her firsts, but day to day memory capturing ceased and I missed it terribly. My memory is shocking and without the security of a journal I forget when she first said Daddy, Mummy or other milestones.
So I bought myself a new diary. But since I loved looking back so much on entries penned 30 years ago I ventured into the unknown and ordered a five year diary. It's a great little thing with enough space each day to jot down any little antics or activities. I can't wait to continue writing in it and seeing how life changes over the years, especially if and when we have number two.
Available from handpickedcollection.com for £11.95
Lena Loves: Necklaces for new mums
Something amazing happens when you have your first baby, it doesn't matter how much you insist before their arrival that you won't be 'one of those mums.' As soon as they arrive safely in your arms you are in awe of them. Everything about them is simply magical. This is something that you made. You actually made a baby. It's only right that you should want to shout about it from the rooftops. That is why personalisation is absolutely critical in terms of gifting for a new mum. Having any sort of gift with your baby's name on it doesn't seem odd at all, in fact the more the merrier! Bunting, check. Framed artwork, check. Embroidered towel, check. The list goes on and on. For a new mum wearing an item of jewellery that hints at their bundle is a wonderful token of their achievement. Push Present sounds so boisterous. Regardless of what you might call it, here are my top picks for a necklace for a new mum.
Alex Monroe "two birds on a branch" £150 and The Duchess Necklace by Merci Maman £89
Russian Ring Necklace by Posh Totty Designs £63 and Tilly Mini available from Mamissima £191
Fingerprint heart pendant by Fingerprint Jewellery £120 and Flower Heart & Alpha by Wright&Teague £180
Alex Monroe "two birds on a branch" £150 and The Duchess Necklace by Merci Maman £89
Russian Ring Necklace by Posh Totty Designs £63 and Tilly Mini available from Mamissima £191
Fingerprint heart pendant by Fingerprint Jewellery £120 and Flower Heart & Alpha by Wright&Teague £180
Adding social media icons to blogger
Well that's been a day of utter bafflement! I have been trying to add pretty little social media icons to my blog during the snatched free time of today. At one point an expletive did come out. Thankfully I found a wonderful tutorial from Sew Many Ways.
And these stunning icons from carrieloves.com
Harmony has been restored!
And these stunning icons from carrieloves.com
Harmony has been restored!
Get Crafty: A birdcage
My biggest lust for the past five years has been a Tamar Mogendorff birdcage. But since I haven't managed to win the lottery within that time, nor play it in actual fact, I am still to sit in wait.
In the meantime, I thought I would have a go at making a little version myself. It is by no means a replacement. It's purpose, instead, is to hang proudly in my home keeping the spot warm for when I do finally buy one of her superb creations.... I'm truly hoping that day will come within the next 10 years.
Enthusiasm
It was when I saw her playing in the park that I realised why I sound so amazed at objects she spots and actions she does. She spent an hour in the sandpit. An hour! Just placing neat little piles of sand on the top of the mini log fencing that envelops it. I was just watching her, delicately touching the grains, flapping wildly with her hands in an effort to make fluffy butterflies, trickling little piles and then swatting them flat. She found it fascinating. She finds absolutely everything fascinating. A fair part of her day is made up of new experiences, things she's never done or felt or even known could be done or felt. Be it the feel of the iron railings on the neighbours front wall as we walk by, a new breed of dog (aka wofwof,) a pebble colour that she hasn't studied before or the bounce of damp turf as she runs across Greenwich Park. Her day is filled with absolute wonder.
When you spend day in, day out with someone who gets so excited about a helicopter in the sky she screams 'hello' at the top of her lungs and waves frantically just to make sure that it can see her, it is really rather hard not to find that kind of joy contagious.
Wednesday, 23 April 2014
Snapshot: Pipe Cleaners
Lena's dexterity has come on leaps and bounds recently, as has her ability to really sit down and focus on a task. Since the success of the 'push the mini pom poms through a little hole made in the lid of a Tupperware box' I was looking for another little activity that would keep her amused. Behold! the wonder that is threading pipe cleaners into colander holes. Lena gets given the whole pack of pipe cleaners and here is where the many phases of activity excitement begins. She firstly gets to empty the whole packet out in a flurry of fluffy multi-colour wonderfulness. She then gets to point out colours, grab clumps of them, un-grab clumps of them, thread them through the holes, un-thread them, and then feed them into the bag at the end for 'tidy up.' This is by far the best £1.50 I have spent in a long time.
Tuesday, 22 April 2014
Porridge Fingers
Lena decided she didn't want a servant, she wanted to feed herself. But here is the dilemma, how does a child who hates feeling food and doesn't yet have either the patience or the dexterity to use a spoon/fork feed themselves. In short they don't. During these tricky few months I was in hell. Her weight dropped. Her ribs and spine were visible and her night wakings became unbearable as she woke up screaming for milk. I cried. I cried a lot. Every meal became a stab to the heart. Whereas before she would hoover up my home made Gobi curry, now everything and anything was delicately touched between fingertips and then immediately flung across the room in rage. At one point she coped well with scrambled eggs, but that lasted for about a week, and then that was also flung across the room. My repertoire of delicacies to nourish my child with was getting smaller and smaller. But one of my go to recipes for breakfast was and still is these odd gelatinous porridge fingers a friend told me about. Apparently it is from the Baby Led Weaning cookbook. I can't vouch for this as I don't have it. Instead I have the amazing advice of my friend.
Get Crafty: cover an embroidery hoop
For years I have been too nervous to embroider. I always felt it was a craft reserved only for the upper echelons of Crafsters. I put this firmly down to the frustration I felt in the one 'home skill' class I took in Junior School that didn't involve blowing up a microwave with a Lurpak wrapper.
I just couldn't get to grips with a french knot..... nor the concept of threading the needle with lots of little thread ends. And so I was left to marvel at the work of others. That was until I learnt how to embroider a little speck of a bee. It was a small but very mighty bee, I'll have you know. Since then I absolutely adore it. Using lovely linen from Ada & Ina which makes for an inspiring base fabric and then I get giddy with all of the colour combinations of thread, types of stitches and especially the mixing in of a little scrap of fabric for a new depth.
Regardless of my ramblings, I do have a point to this post. I have made a little something for a special someone and I wanted to jazz up my hoop, so to speak. I have never been a wild fan of embroidery work framed by plain-as-they-come hoops. I much prefer them in shadow box frames or painted hoops. But for the hopscotch piece that I have created a painted hoop just didn't seem right. But do you know what did...... A Liberty hoop, of course!
And here begins the tutorial on how to cover an embroidery hoop with Liberty fabric, or any cotton you wish. Before we begin, I would like to start with a few tips:
1. If your 19 month old daughter will not let you do anything without her involvement and you wish to photograph a tutorial as you go, do invest in better lighting than an Ikea paper lamp on your workstation.
2. Be patient.... let the glue gun heat properly.
3. Work with a scrap piece of paper next to you to dab off excess glue.
4. Embrace the gluey whispers as they come. If not, the rage will overpower you.
5. Always start with a new glue stick. It may look like you have enough left in the gun, but rest assured there will be that point when you need to add a new stick part way through the project and end up a victim of the Hot Glue Megablob..... et voila!
Once you're at the end you just need to finish with another splodge of glue on the underside of the hoop.Then trim off any over the top fraying that's happened to your strip during handling, but not too much as I think this adds the the aesthetic, as well as any gluey whispers.
I just couldn't get to grips with a french knot..... nor the concept of threading the needle with lots of little thread ends. And so I was left to marvel at the work of others. That was until I learnt how to embroider a little speck of a bee. It was a small but very mighty bee, I'll have you know. Since then I absolutely adore it. Using lovely linen from Ada & Ina which makes for an inspiring base fabric and then I get giddy with all of the colour combinations of thread, types of stitches and especially the mixing in of a little scrap of fabric for a new depth.
Regardless of my ramblings, I do have a point to this post. I have made a little something for a special someone and I wanted to jazz up my hoop, so to speak. I have never been a wild fan of embroidery work framed by plain-as-they-come hoops. I much prefer them in shadow box frames or painted hoops. But for the hopscotch piece that I have created a painted hoop just didn't seem right. But do you know what did...... A Liberty hoop, of course!
And here begins the tutorial on how to cover an embroidery hoop with Liberty fabric, or any cotton you wish. Before we begin, I would like to start with a few tips:
1. If your 19 month old daughter will not let you do anything without her involvement and you wish to photograph a tutorial as you go, do invest in better lighting than an Ikea paper lamp on your workstation.
2. Be patient.... let the glue gun heat properly.
3. Work with a scrap piece of paper next to you to dab off excess glue.
4. Embrace the gluey whispers as they come. If not, the rage will overpower you.
5. Always start with a new glue stick. It may look like you have enough left in the gun, but rest assured there will be that point when you need to add a new stick part way through the project and end up a victim of the Hot Glue Megablob..... et voila!
What you'll need
Wooden embroidery hoop - mine was 21cm in diameter
Fabric (or ribbon if you have this, ideally no bigger than 0.5" wide)
Rotary Cutter
Ruler
Cutting Mat
Glue Gun
Scrap paper
Make the fabric strip
Unless you have a stash of pretty printed ribbons you're going to need to make your own continuous fabric strip. To do this I folded a rectangle of scrap fabric. I folded selvedge edge to selvedge edge in order to give a little bit of flexibility/stretch to it, but I didn't feel the stretch of bias was necessary. I folded it again and again until I had a neat little Viennetta-like bundle.
Then using a cutting mat, rotary cutter and ruler I cut strips 0.5" wide. Take care to press firmly with the cutter so that you don't have to take repeat strokes as this can cause the edges to fray.
Then place two strip ends right sides together at a 90 degree angle. You will then need to sew diagonally across the centre of the square that is effectively created where the two fabrics meet. If you're working with Liberty this can feel a little tricky due to the delicate feel of the fabric. Once sewn, trim off the excess and press the join flat - there is no need to press the seam open. Then just keep doing this, adding the ends together until you have one long ribbon.
To cover my hoop I needed a fabric strip of just under 205cm
Glue guns at the ready
Now warm up that glue gun... and remember that patience we talked about!
Starting at the top near the clasp smear a gooey blob on the inside of the hoop just long enough to cover three rotations worth of fabric, and then wind your strip over this. You have to be pretty snappy so the glue doesn't set, so to start with a smaller blob size is ok until you get your winding confidence up.
Then simply keep glueing and winding until you come to the end.
I only overlapped the turns by a fraction as I suspected my ribbon length was cutting it fine. I made the overlap a little closer on sections where the seam was visible on the outer just to conceal it a little more.
And here's a sneak peak at it on the project in question:
Monday, 21 April 2014
Get Crafty: Find that Liberty fabric
Liberty cotton. I adore it. As soon as I indulge in buying a carefully selected piece it gets anxiously washed, delicately pressed, lightly folded and then repeatedly stroked and gawped at. Although gorgeous it is by no means cheap. Cutting into it for a project always fills me with butterflies and my hands get ever so slightly shakey as I bring the scissors towards it..... In my "interesting" head I can hear the impending strings of Jaws. Yup "interesting" is a polite word to use.
Anyway, if you are vaguely anything like me, or if you are more emotionally stable and just like Liberty I have found a gem of a blog post. The amazing Ali from Very Berry Handmade has written a hugely informative list and review piece about where to go for all of your Liberty cotton desires; be it fat quarters, binding or metres.
I feel an over indulgent buying, washing, pressing and not forgetting stroking session coming on. Yay for me!
Sunday, 20 April 2014
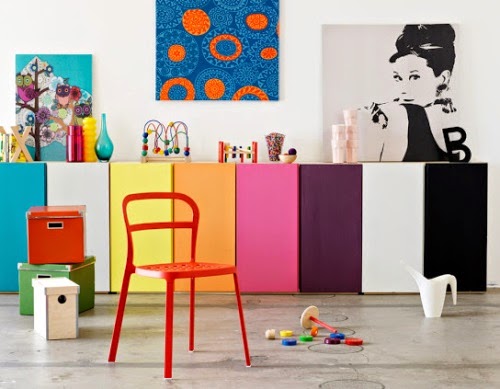
A Rainbow of Ikea Hacks
I am obsessed. There is nothing more I like than trawling Pinterest for ingenious Ikea hacks. Yes there are marvellous things to be done using a power tool. But look at what you can do with just a splash of colour.
Subscribe to:
Comments (Atom)


